Prepare multi-tenant Entra ID (Azure AD) integration
Published on:
12/4/2021
Updated on:
7/4/2026
This article is from before the rebranding to SelfGuide. Text and images can include the old product name ProductivityPerformer or its abbreviation PP.
The SelfGuide integration with Microsoft Azure Active Directory (Azure AD) adds the ability to use a Microsoft work- or schoolaccount to get access to SelfGuide. For the user, no additional account is needed, for the organization security is improved by support for multi-factor authentication. Enabling the integration just changes the way users authenticate, existing data like Instructions, Courses and User Guides are kept.
Using Azure AD as identity provider is optional and requires some preparation in Azure AD. After following the steps below, get in touch with support to enable the integration.
Single-tenant vs Multi-tenant
Azure AD integration can be configured in two ways:
Single-tenant: Accounts defined in one Azure AD tenant get access to SelfGuide. Use this option if the organization uses one Azure AD tenant and no external users need access to SelfGuide
Multi-tenant: Accounts defined in several Azure AD tenants get access to SelfGuide. Use this option if the organization uses more then one Azure AD tenant or users from other organizations need access to SelfGuide.
This article explains the required steps for a multi-tenant Azure AD integration, for single-tenant Azure AD integration see this kb article.
Remarks
After contacting support, a moment will be scheduled to configure the integration. While configuring the integration, SelfGuide is temporary not available.
Existing accounts created in SelfGuide can't be used anymore after enabling the Azure AD integration
Required steps
Starting point for the steps below is a configured Azure AD application for single-tenant Azure AD integration. If not configured already, follow the steps in the article Prepare Azure AD integration
Open the existing Azure AD application created for the single-tenant Azure AD integration
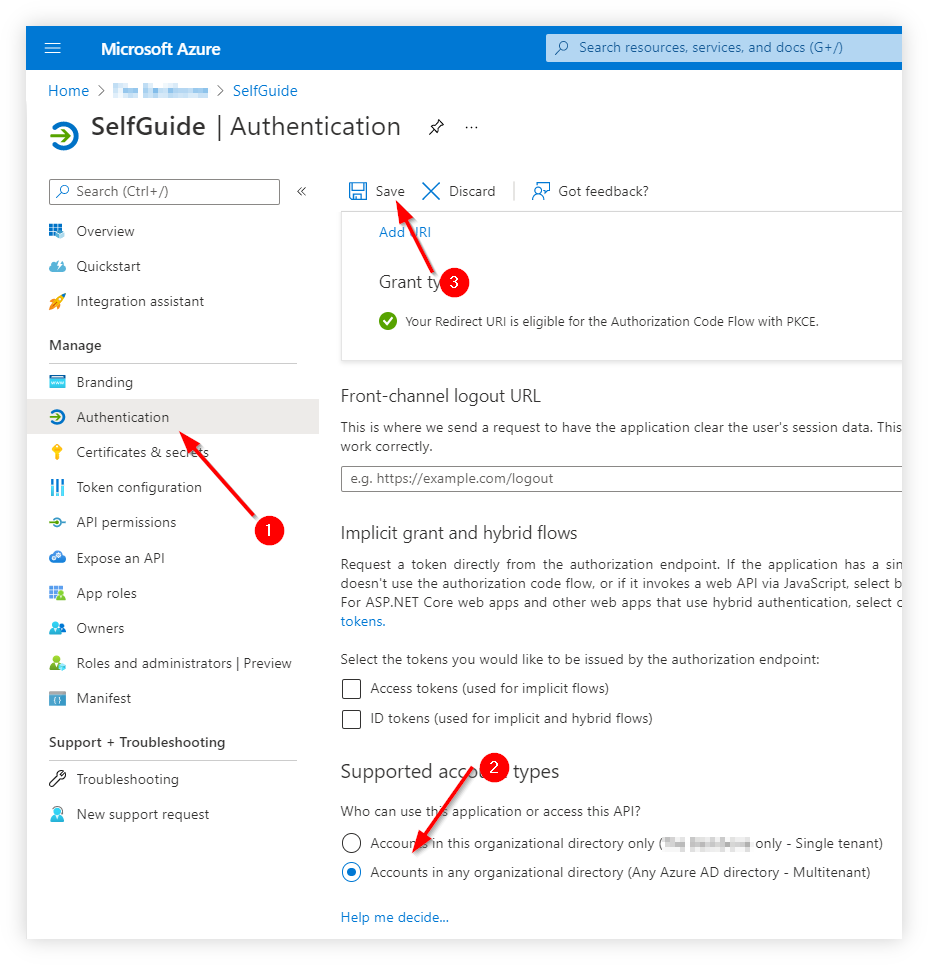
In the menu, navigate to Authentication
Under the section Supported account types, select the option Accounts in any organziational directory (Any Azure AD directory - Multitenant and press Save
Collect all Azure AD tenant IDs which need access to the SelfGuide tenant and share those IDs with support. A Azure AD tenant ID can be found on the Overview page of the Azure Active Directory blade in the Microsoft Azure Portal.
Give user consent as administrator
All users need to consent to share personal data using SelfGuide for the first time, as Azure AD administrator this consent can be given at once for all users. The steps below need to performed in each tenant being used to access SelfGuide.
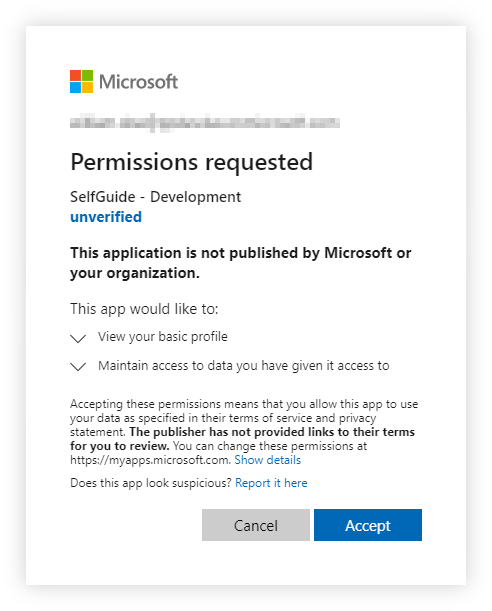
Open SelfGuide and sign-in using an account from the Azure AD tenant
During the sign-in process, a request to give consent is shown, click Accept
Open the Microsoft Azure portal and navigate to Azure Active Directory
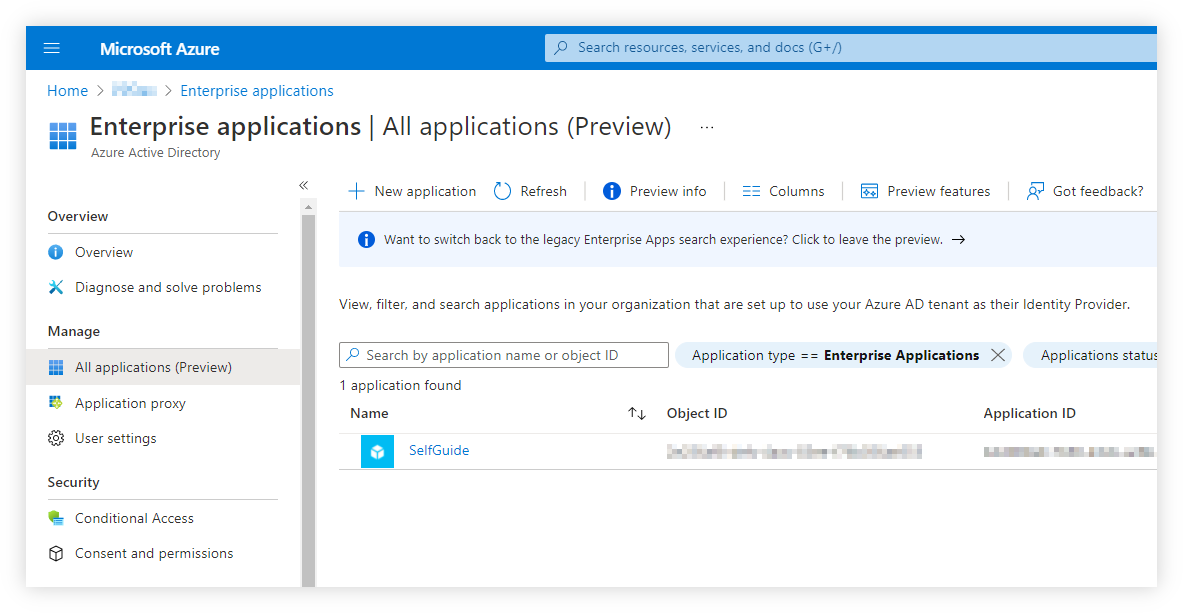
In the menu, navigate to Enterprise applications. Due to the sign-in, SelfGuide is added as an enterprise application
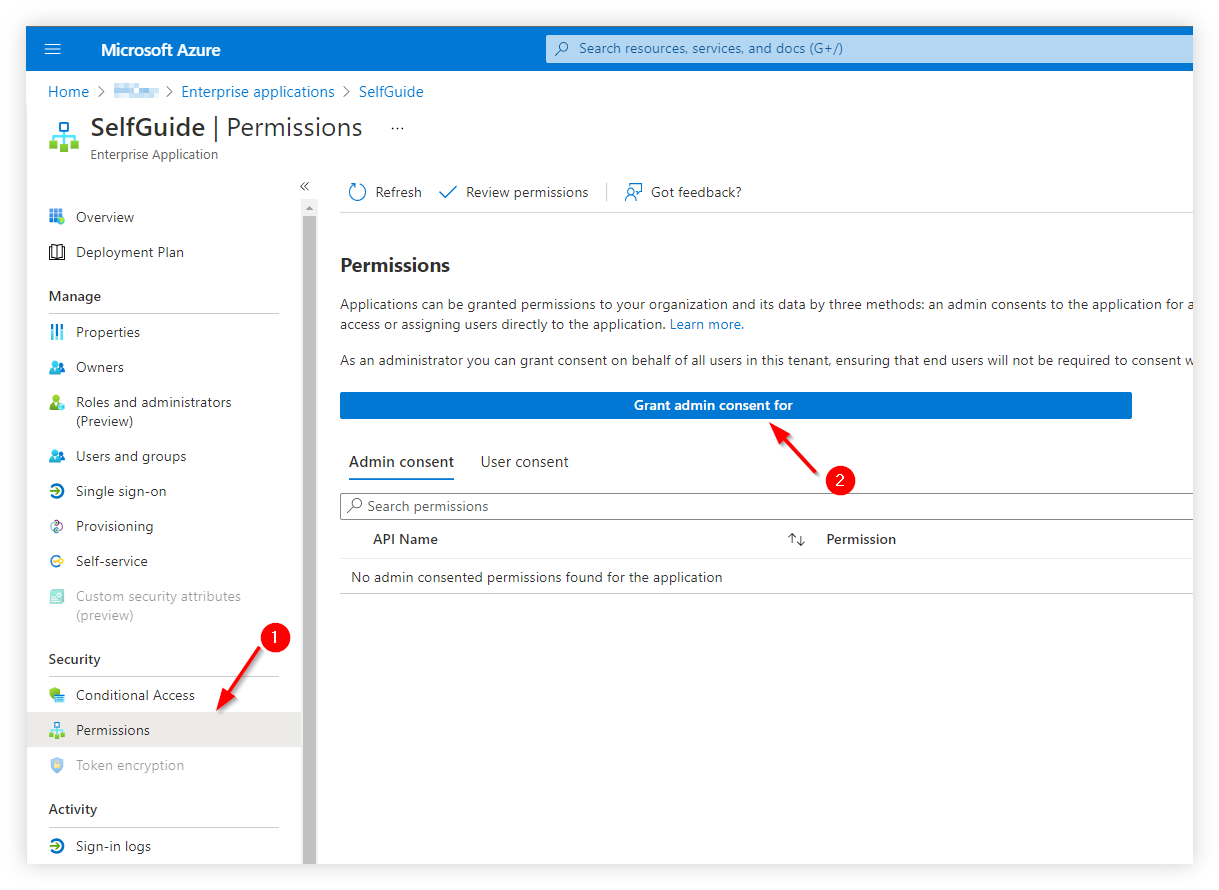
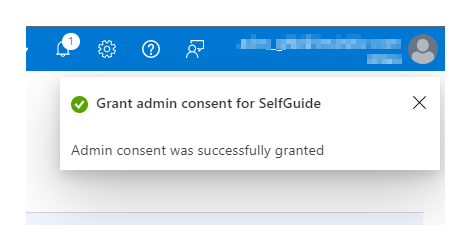
Open the enterprise application, navigate to Permissions and choose Grant admin consent for ...
Microsoft Azure will not ask for admin consent for the organization, by giving this consent, users don't have to consent personally. After giving the consent, a toast notification will confirm the action